The Part Nobody Sees Is the Part That Makes Everything: A Guide to Crochet Finishing
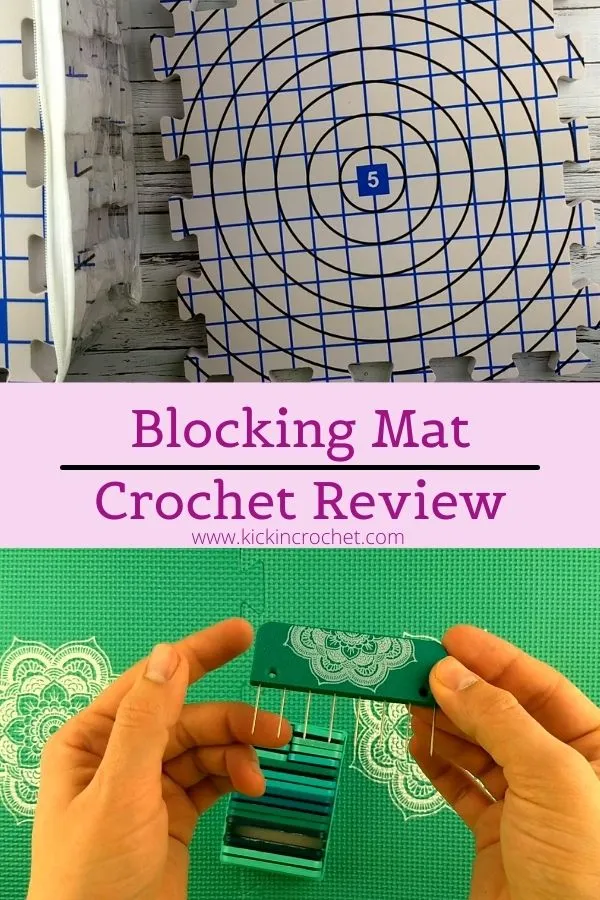
Photo: blocking crochet garment on foam mat with pins flat lay, via kickincrochet.com
There's a moment every crocheter knows. You've just bound off the last stitch on something you've been working on for weeks. Your hands are a little sore, you're proud of yourself, and honestly? You're exhausted. The last thing you want to do is anything other than hold it up and admire it.
So you weave in the ends quickly, skip the blocking, sew the seams together in about ten minutes, and figure the edging can wait.
And then you put it on, and something is just... off. It doesn't look the way it did in the pattern photos. The seams are puckering. The edges curl. The whole thing reads as homemade in the way that doesn't mean charming — it means unfinished.
Here's the uncomfortable truth: finishing is not the epilogue to your crochet project. It's the final chapter, and it's often the most important one.
Why Finishing Gets Skipped (And Why That's Understandable)
Finishing work — blocking, seaming, edging, and weaving in ends — is tedious in a way that crocheting itself usually isn't. There's no rhythm to it. You're not making new fabric; you're just... tidying up. And after the creative high of building something stitch by stitch, fussing over a seam feels like a real letdown.
The other issue is that finishing techniques are dramatically under-taught. Most beginner resources spend pages on the basic stitches and then offer something like "weave in your ends and you're done!" as if that's a complete instruction. Nobody explains how to weave ends in so they actually stay. Nobody demonstrates what a well-blocked piece looks like compared to an unblocked one. Nobody shows you the difference between a mattress stitch seam and what happens when you just kind of... sew things together.
So crafters learn by osmosis, which mostly means they learn bad habits from each other and then wonder why their handmade pieces never quite look like the ones on Ravelry.
The Blocking Conversation We Need to Have
Blocking is probably the single most transformative finishing step, and it's the one most hobbyists skip entirely.
When you block a crochet piece, you're using water and tension to coax the fabric into its final shape. Stitches even out. Lace opens up. Edges that were rolling and curling suddenly lie flat. The difference between a blocked and unblocked garment is so dramatic that it can genuinely look like two different projects made by two different people.
The method you use depends on your fiber content. Wool and other animal fibers respond beautifully to wet blocking — you soak the piece, gently squeeze out the water (never wring), and then pin it to a blocking mat to dry in the correct dimensions. Acrylic, which most American crafters use heavily, doesn't respond to water blocking the same way. Instead, it responds to steam. Hold a steam iron a few inches above the surface and let the steam penetrate the fibers without direct contact. This "kills" the acrylic slightly, relaxing it into a softer, drapier fabric that looks far more polished.
Cotton sits somewhere in the middle — it can be wet blocked, but it's also sturdy enough to handle gentle pressing with a damp cloth.
The investment here is minimal. A set of blocking mats and some T-pins runs about $20 to $30. The return on that investment, in terms of how your finished pieces look, is enormous.
Weaving In Ends: Do It Right or Do It Over
Every crocheter has a tail-end horror story. You wash something and half the ends work their way back through to the right side. Or you're wearing a project and you notice a little tail waving at you from the hem.
The problem is almost always technique. Weaving ends in a straight line — even a long straight line — gives those ends a path to travel back out. Instead, change directions. Weave in one direction for an inch, then double back and weave the other way, ideally splitting the plies of the yarn with your needle so the end is truly anchored in the fabric structure.
For slippery fibers like silk blends or bamboo, a dab of fabric glue on the cut end before you trim can add extra security. It sounds fussy, but it takes about five seconds and prevents a lot of heartbreak.
For projects with a lot of color changes — granny squares, striped blankets — consider working over your tails as you go. Hold the tail alongside your working yarn and crochet over it for several stitches. This buries the end as you work and cuts down your finishing time significantly.
Seaming: The Difference Between Assembled and Handmade
If you've ever made a sweater or a bag with separate panels, you know that seaming is where things can really fall apart — literally and figuratively.
The mattress stitch is your best friend for invisible, professional-looking vertical seams. It works by picking up the edge stitches on each piece alternately, creating a seam that sits flat and is nearly invisible from the right side. It takes a little practice to find the right edge stitches, but once you get it, you'll never go back to just whipstitching things together.
For joining granny squares or motifs, the flat slip stitch join is a clean, low-profile option that creates a subtle visible seam on the wrong side. If you want that seam as a design element — like a ridge detail — a slip stitch join on the right side creates a deliberate textural line that looks intentional rather than sloppy.
The biggest seaming mistake? Pulling too tight. A too-tight seam puckers the fabric and creates a ridge that no amount of blocking will fix. Match your seaming tension to the tension of the fabric itself — it should feel like part of the same piece, not like it's being cinched together.
Edging: The Frame That Makes the Picture
A single round of single crochet around the edge of almost any finished piece will clean it up dramatically. It stabilizes the perimeter, evens out any inconsistencies, and gives the whole thing a finished, intentional look.
Beyond that basic clean-up round, edging is a design decision. A picot edge adds a delicate, feminine detail. A reverse single crochet (also called crab stitch) creates a neat, corded edge that's especially nice on bags and home goods. Shell edging can transform a simple blanket into something that looks genuinely heirloom.
The rule of thumb: your edging should feel like a natural extension of the project, not an afterthought. If you're not sure what to add, start with that single crochet round and step back. Sometimes that's genuinely all it needs.
Finishing Is a Love Letter to Your Work
Here's the reframe that helped me finally take finishing seriously: all those hours you spent crocheting? The finishing stage is how you protect that investment. It's the difference between a piece that lasts for years and looks better with every washing versus one that slowly unravels, both literally and in terms of how it presents.
The handmade pieces you'd actually wear — the ones that hold their shape, look polished, and feel intentional — all have one thing in common. Someone took the time to finish them properly.
That someone can be you.